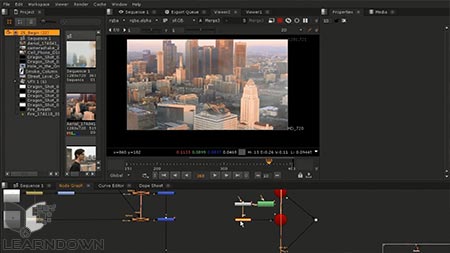
In this series of NUKE tutorials, we’ll learn how to use the new flavor in the NUKE family: NUKE Studio. We start out by learning the differences in the interface as well as the new workflow when bringing in clips and placing them in a timeline environment. We still get to use the same NUKE scripts that we are used to, except that now the scripts are housed in comp containers. This makes for easy versioning and annotation exchange throughout the pipeline. Don’t worry if you’ve never heard of annotations, they are new in NUKE Studio, and we learn all about this powerful tool.
Aside from learning all the new features NUKE Studio has to offer, we learn a few of the updates made to NUKEX as well. These are sprinkled throughout our project based approach. By the end of this NUKE training, you’ll feel confident to jump into NUKE Studio at any point in the project, because you’ll have seen all parts of the exchange of information. Whether you’re a part of a studio using this software to better organize your pipeline, or you’re a one man show using it as a super-software for all your compositing needs, you’ll be ready to take on your next project in NUKE Studio with no fear of the unknown. Software required: NUKE Studio 9.0, NUKEX 9.0.


Topics Include Your First Day in NUKE Studio:
- Introduction and Project Overview
- Your First Day in NUKE Studio


Leave a Reply